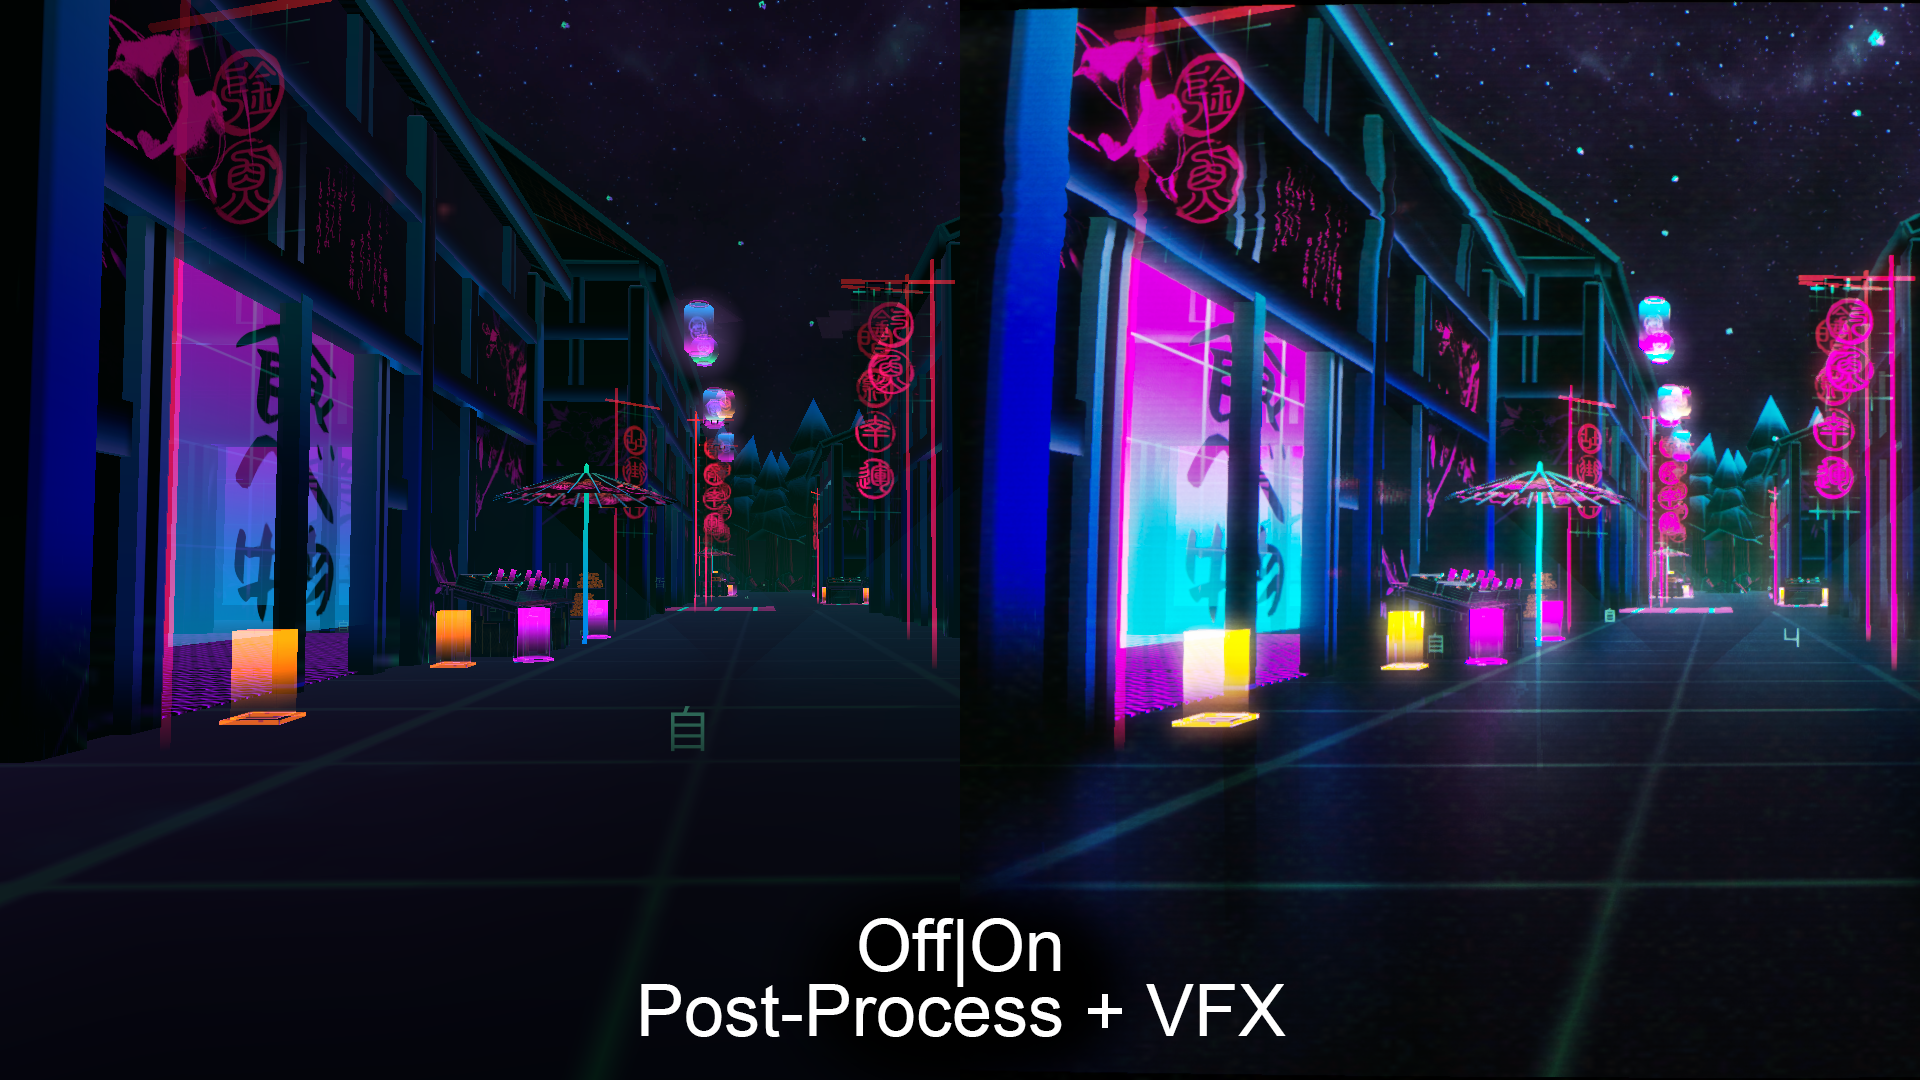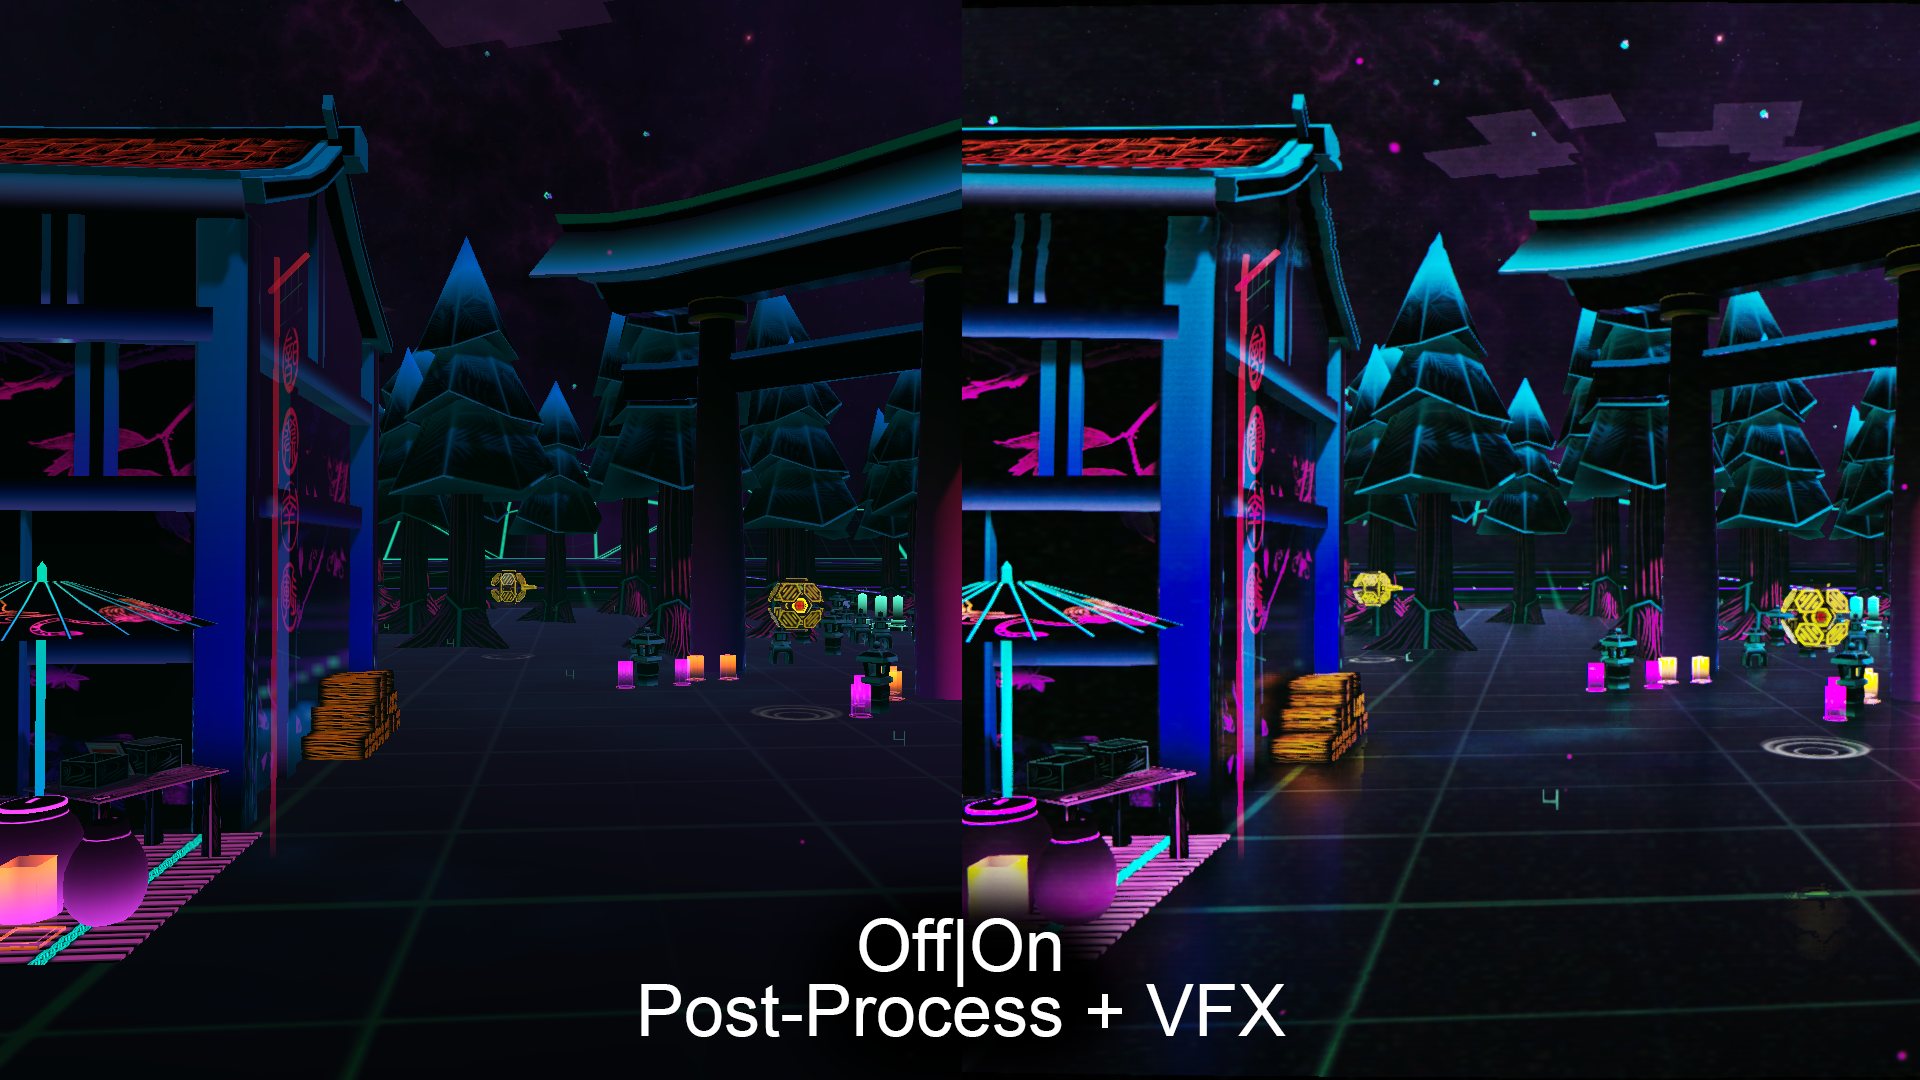
Like any staggering before-&-after shots, we must first set the scene. Twas one early morning, little Melloe has finally figured out that post-processing is a thing. That it might make his game better. He fiddles and meddles, tweaks and.. twaks (don’t judge me). He manages to make major merchandize.
Yes I’m bad, but I’ll get better just like this:

How about I break that down for ya
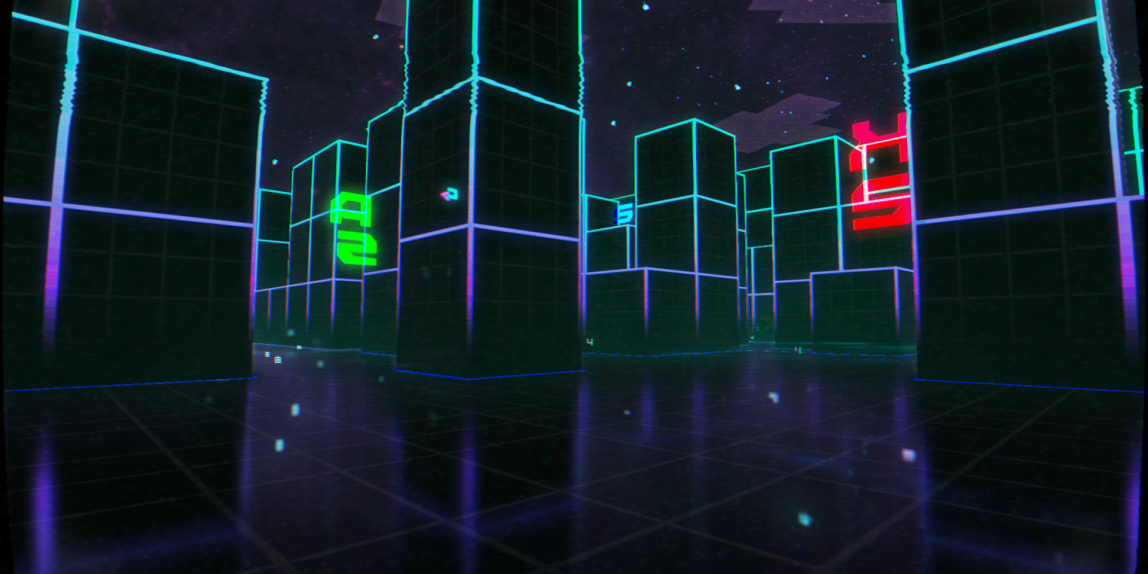
Before

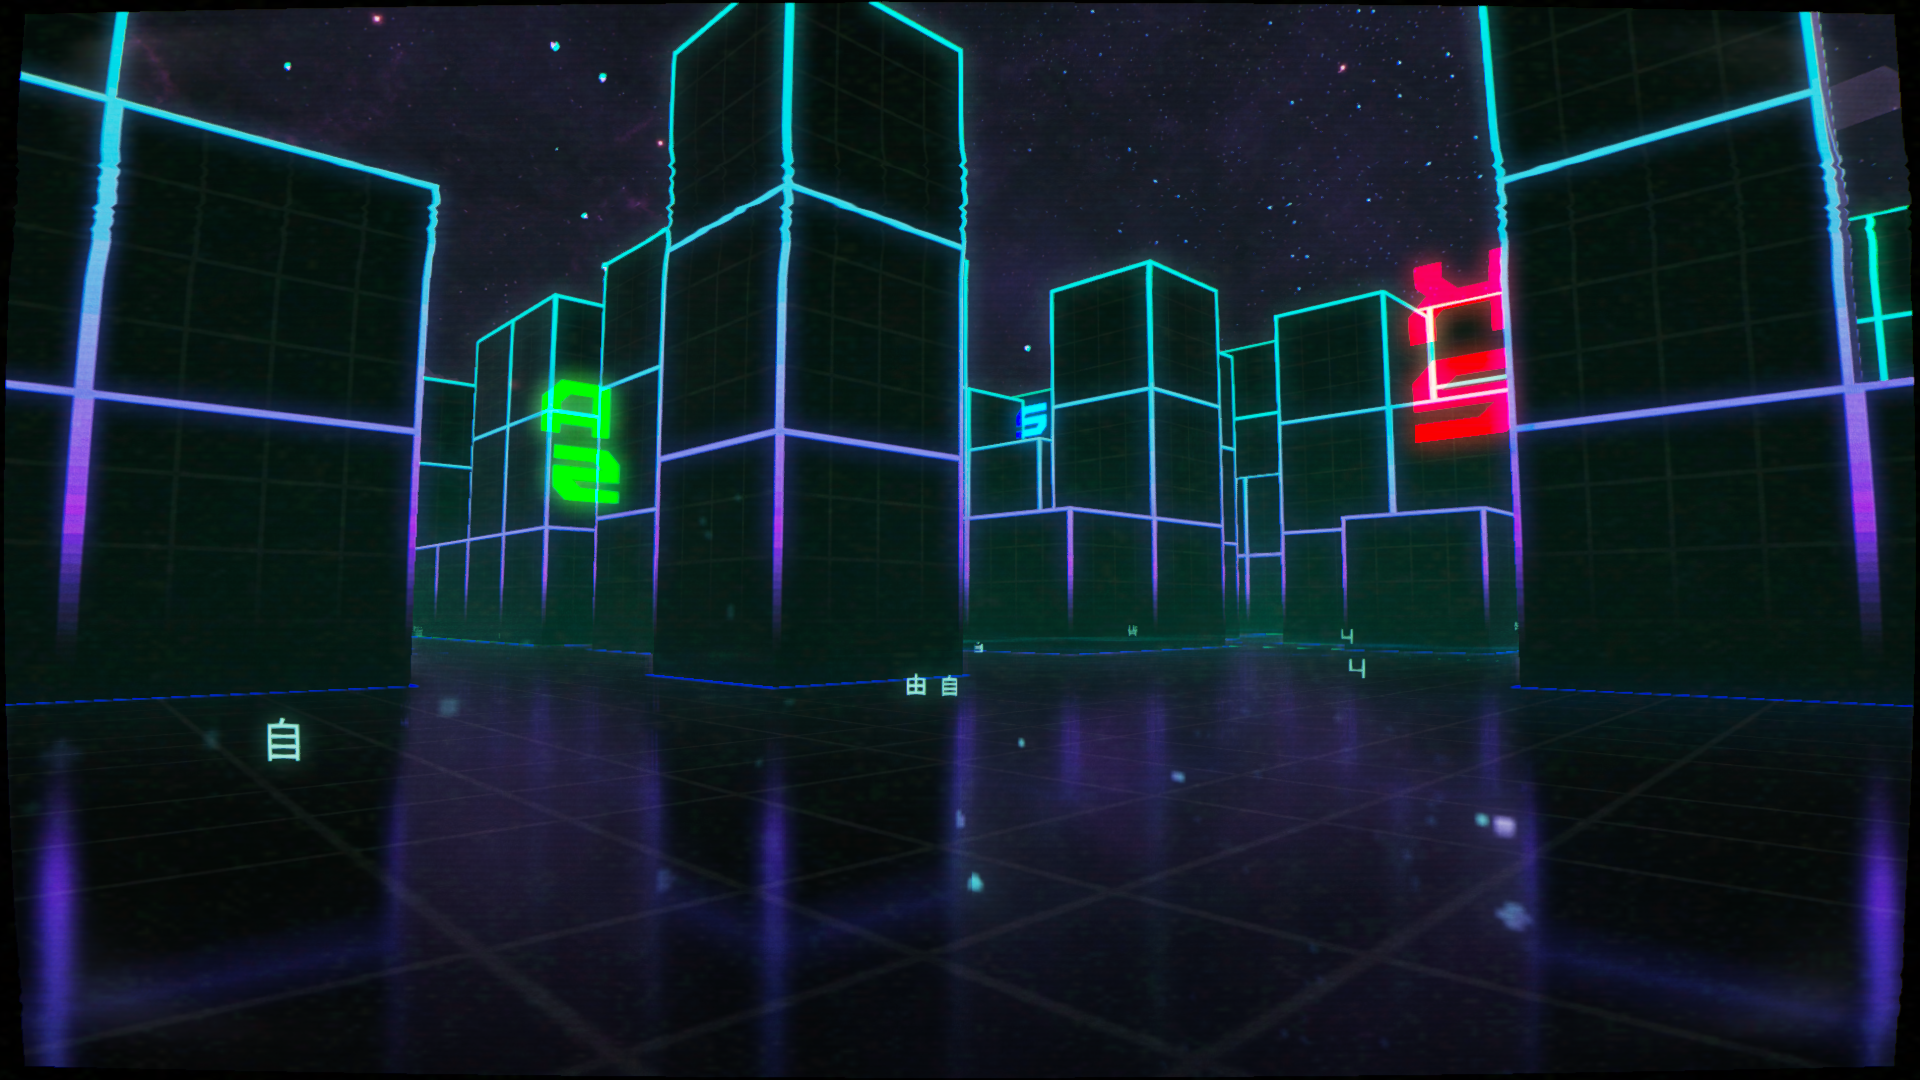 After
This is the first map made for Neon Valley: Revenge. The Cube map. Now I shall list the major steps to upgrading graphics! Starting with some holograms:

Followed by Camera screen effects. This is to give that oldschool crt tv look. Achieved using some image distortion, warped lense, desaturation and scanlines.
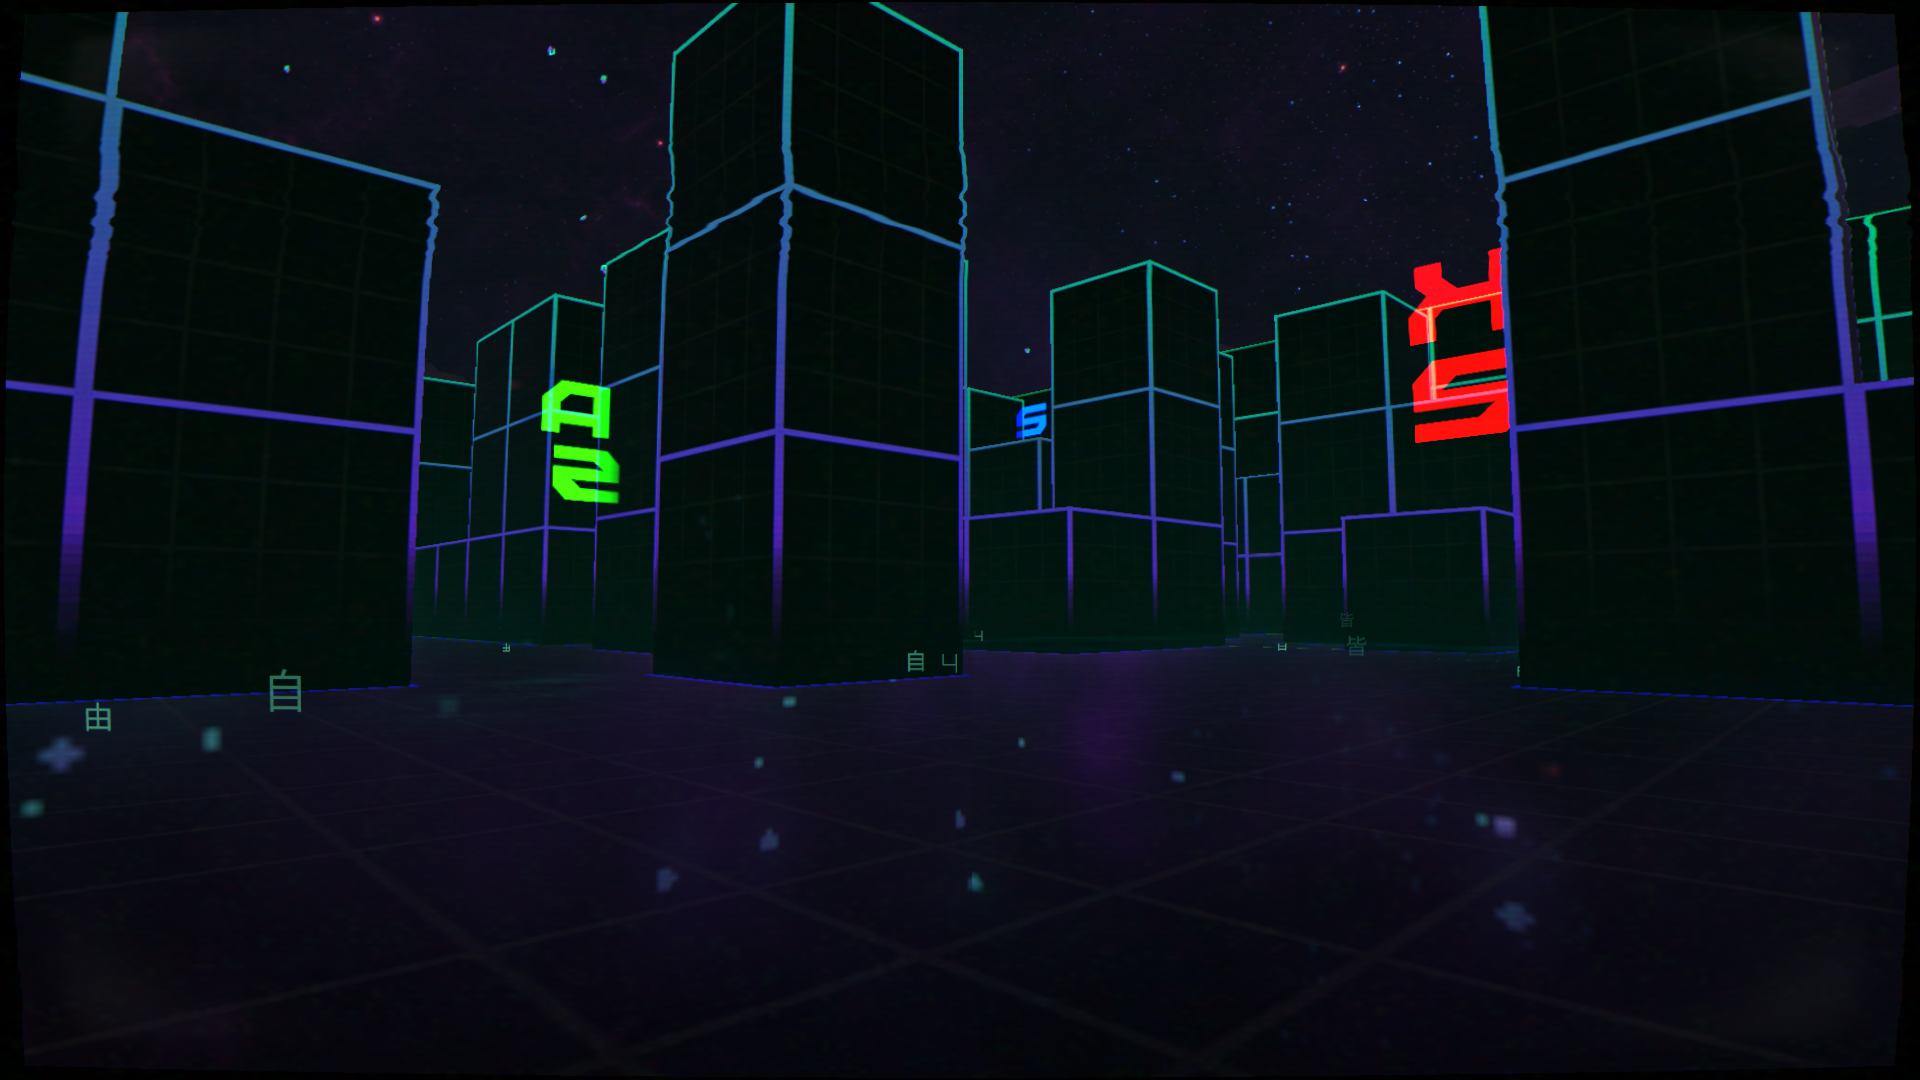
Then comes the screenspace reflection! This one is that sexy boost that makes it all taste like dayum dayum DAYUMMM

TADAAAA…
Oh wait a minute.. How could I have left out the cherry on top. Some hate it but me? Its maple syrup to the pancake that is cyan magenta. Glow and chromatic aberration. Chromatic aberration is a lens effect made by the refraction of light in a camera lens. And to me it’s the refraction of light in my eyes which tell me… Yes this eye like… HEH
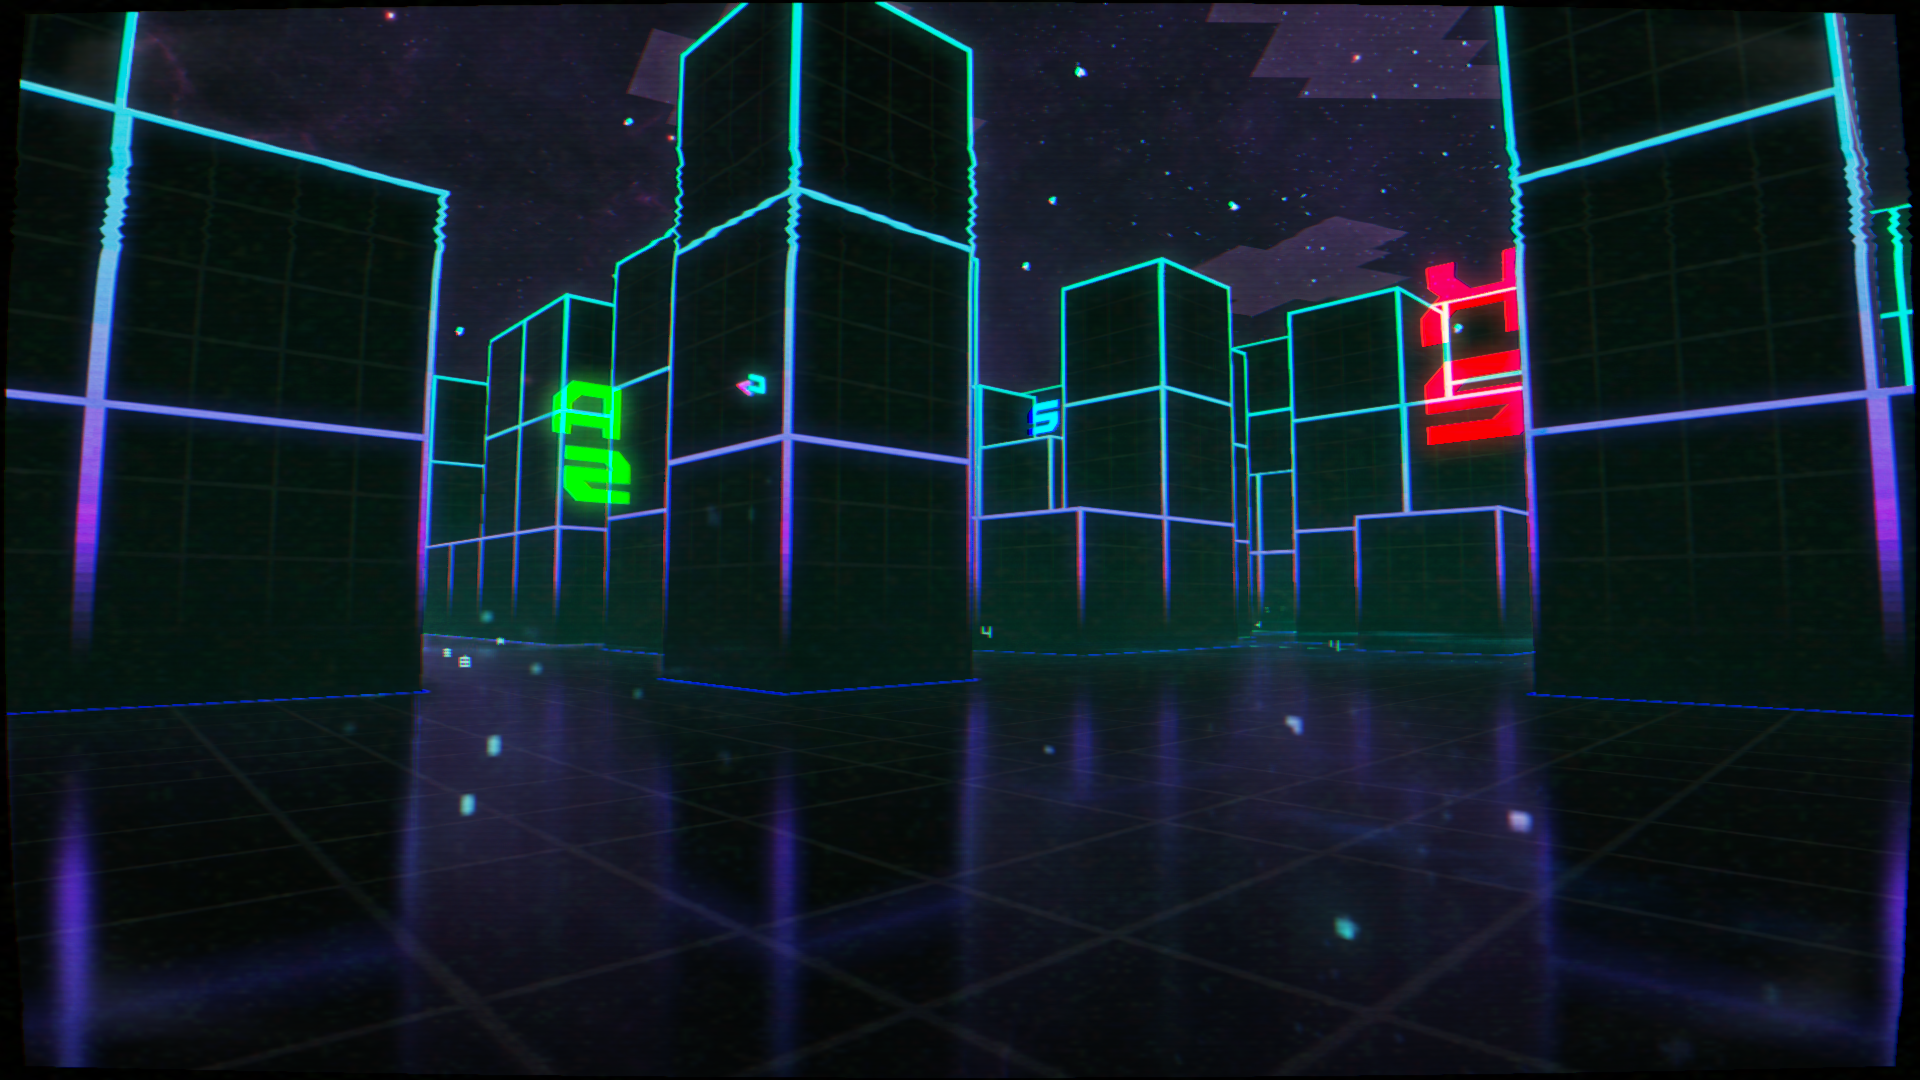
TADAA
Maybe some of you would like to see this
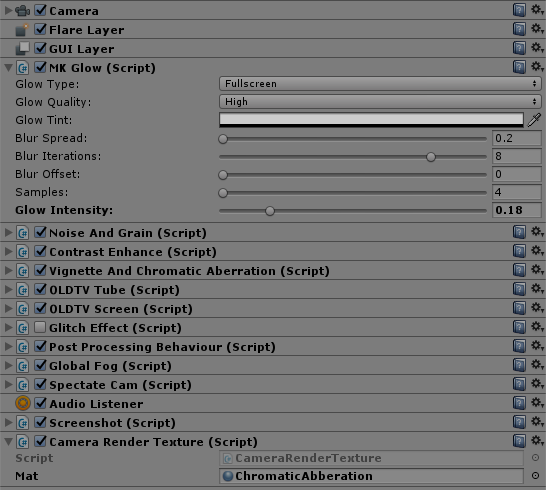
The list of post-processing effects added to the camera object in Unity
Now have some more before and after shots cause that’s cool apparently.